Steak: Thanksgiving 2016, YU Hungry Bruh

Hello again! I know it's been a minute since I've last posted, but I'll just jump straight into what you need to know. First, I redesigned the site because you already know how we do. Second, I'm now in Seattle because NYC is f*ckn expensive. Third, here are some pics from Thanksgiving 2016.
So yesterday I had a craving for some sous-vide meat, as I'm anxiously waiting (like seriously with baited breath) for my Nomiku Wifi to ship. But what is a man to do without an electric device that operates like a slow cooker? We use a thermometer and do it the old fashioned way, that's what. While I don't typically like baby sitting my meals for 2+ hours I will say this method makes a fine ass steak. Also it's Thanksgiving so I should probably step my game up, and so should you.
First let's talk about how I set up this contraption. I used a pot, a ziploc bag, two jars, and a thermometer (with masking tape). The jars are there to hold the steaks down, and the rest acts as a water bath for the steaks on the stove top. The idea is to cook the steaks nice and slow for an extended amount of time (kind of like slow cooking). This will allow for the proteins and fat to emulsify leaving you with a baller-ass steak. Like Steph Curry status. Seriously.


Even if the temp isn't always at 130, if its close enough you'll get results. I ended up checking in every 10 minutes or so and it turned out just fine even with it sometimes hovering at 135 or 140. I just adjusted the water and heat, and re-checked 10 minutes later (on my stove it was between medium and low). What you'll end up with is actually some pretty disgusting looking meat. It will be grey and squishy like some lint from the dryer. But that's because you cooked it at such a slow temp. What you need to do now after that 2.5 hours is to sear both sides so it gets that caramelized flavor; Maillard reaction. This will help give it an awesome crust and awesome flavor.
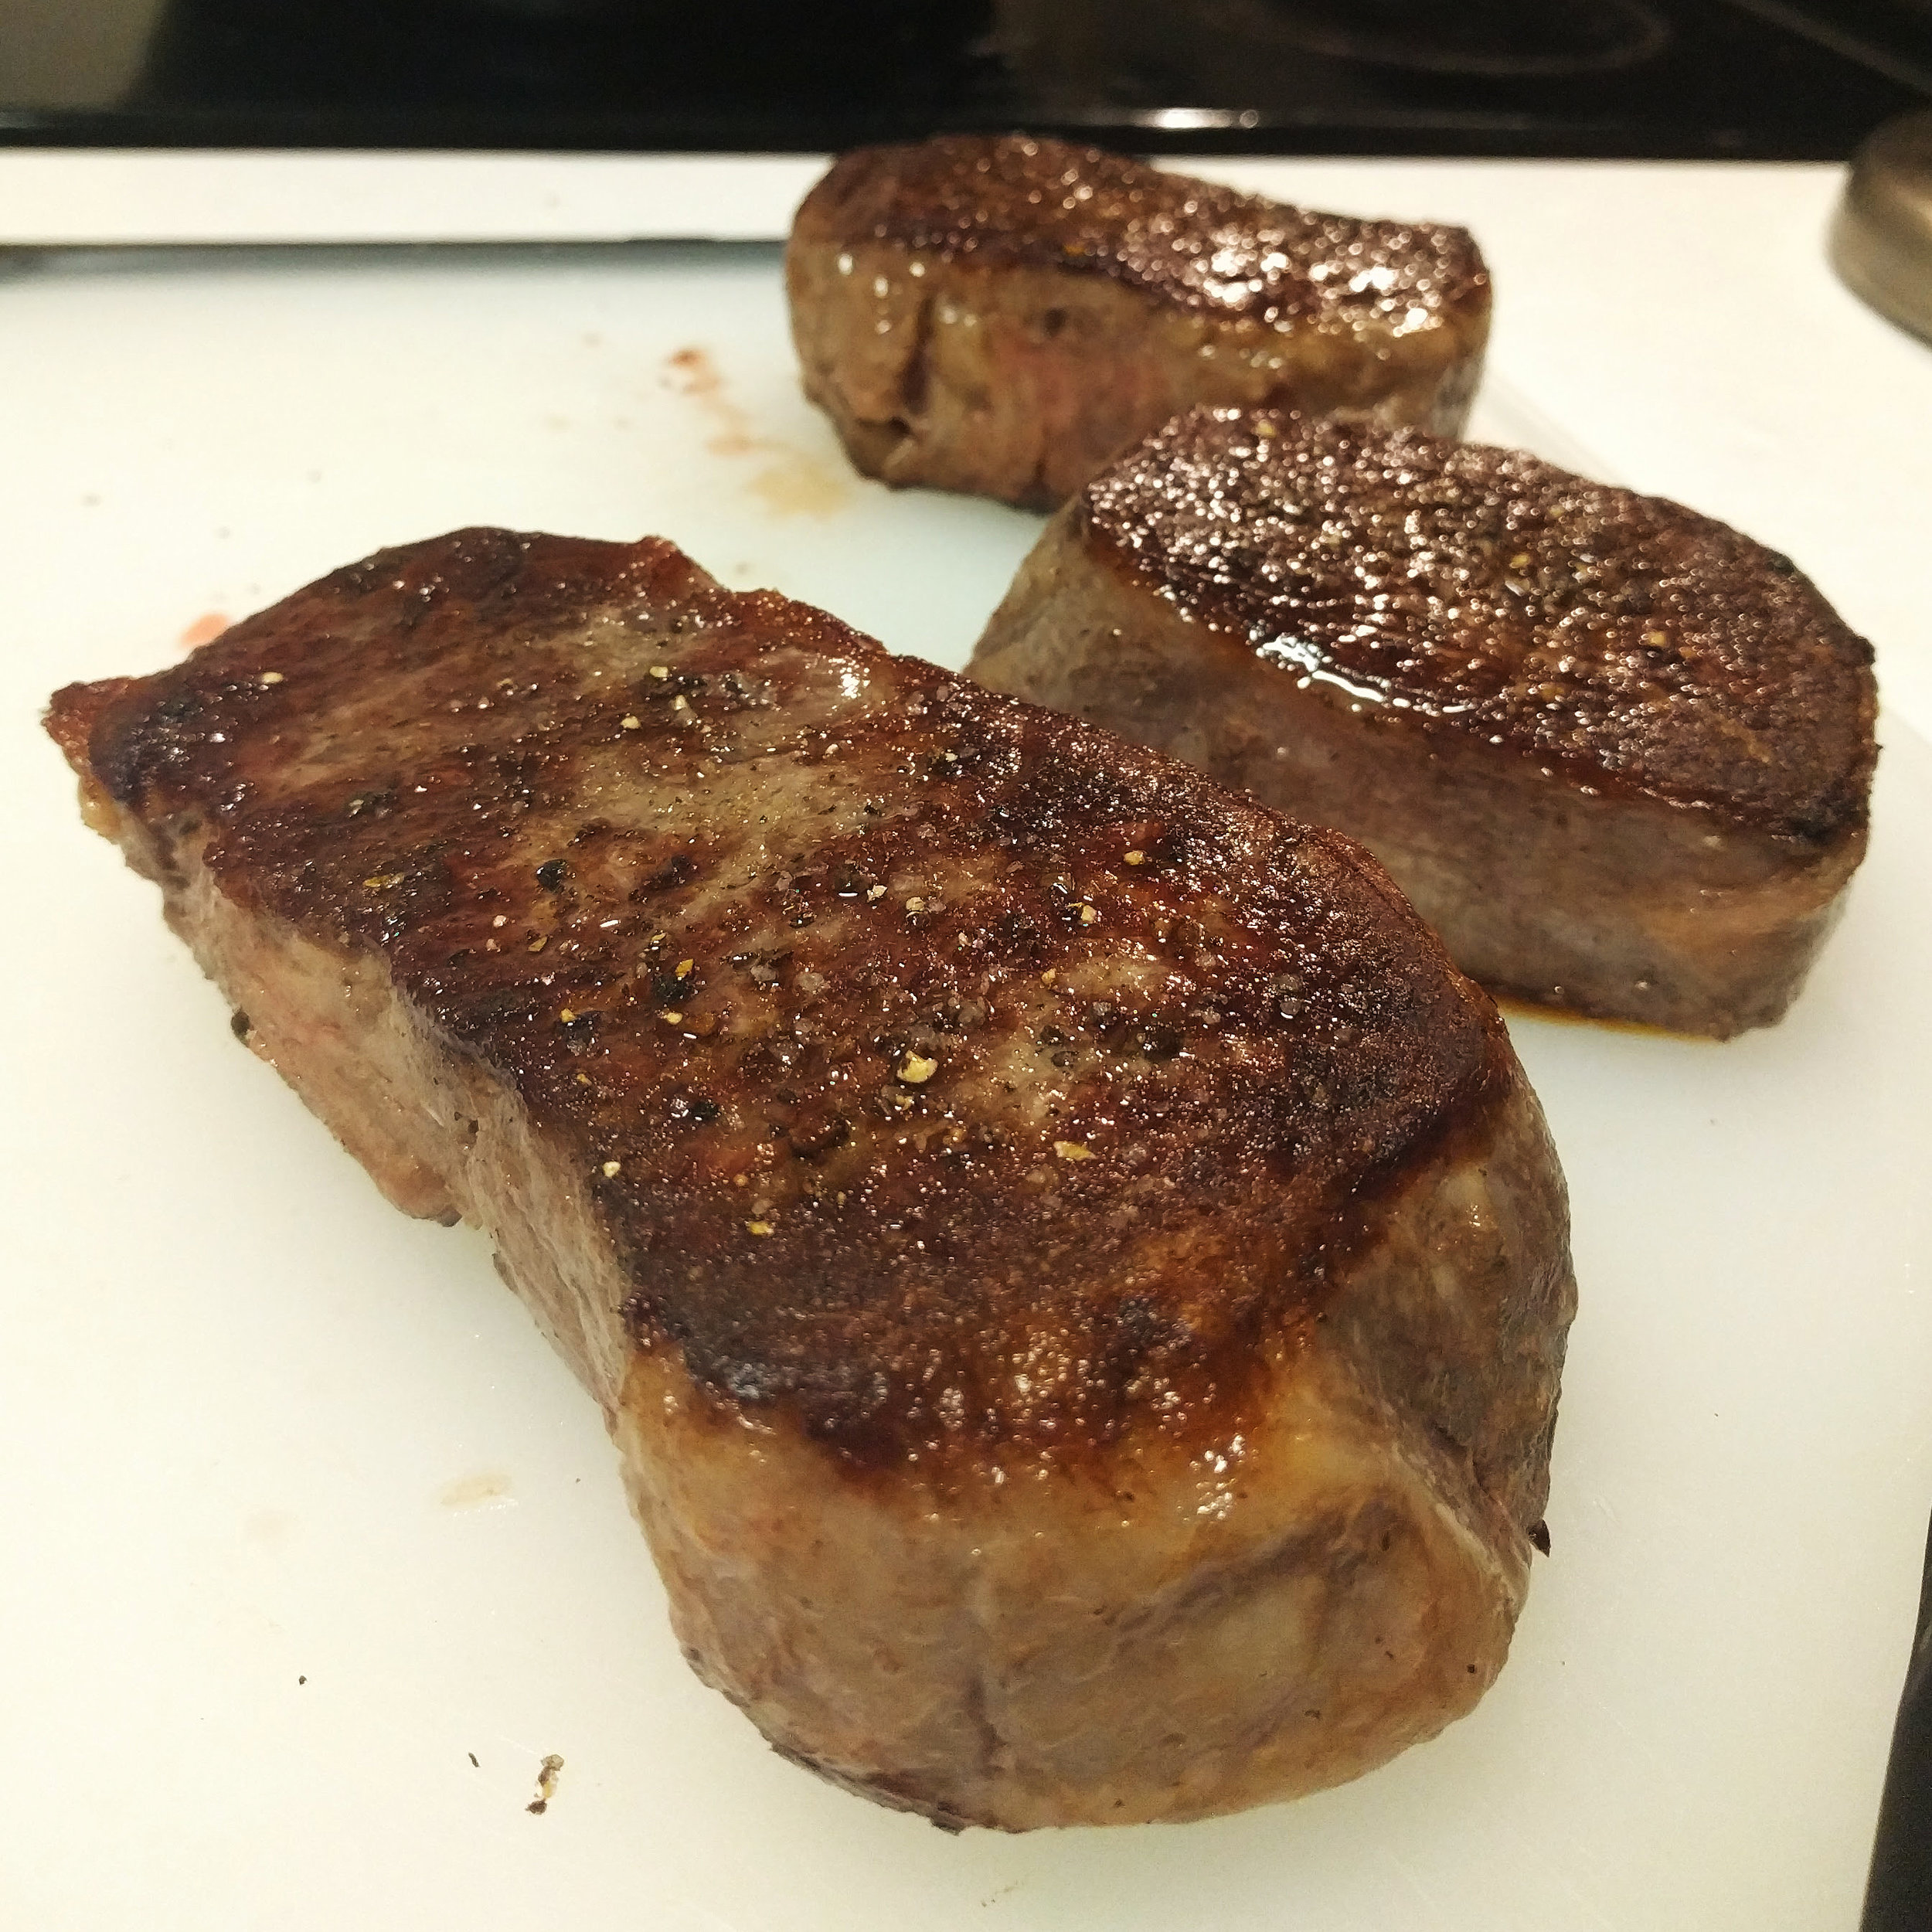
A shot of the steaks right after the searing. Please note, I actually messed up because I seared it too long. Don't be like me and over sear. The steaks are already done after 2.5 hours, you're just trying to add some color.
Ingredients:
steak (something with a nice marble/fat and a hefty thickness (1-3 inches)
salt
pepper
olive oil (shallot oil is a baller upgrade if you have some)
cumin (because seriously this is the definition of flavor)
granulated garlic
You'll probably want the following also.
pot
cast iron pan
thermometer (masking tape if you're thermometer is cheap as mine and doesn't have that clip-on thing)
ziploc bag
Directions
Fill up a pot with water, should be enough water to fully submerge all steaks
Put the steaks inside the ziploc bag and season with salt, olive oil, cumin, granulated garlic, pepper, cumin
Try to remove all the air out (it doesn't have to be vacuum tight) *pro tip* if you zip the bag 90% and leave a small space for air then submerge everything but the zipper majority of the air will leave through that opening. Then seal the other 10%. This is called the dispersion method.
bring water to 130 degrees Fahrenheit.
When water is at 130, set timer for 2.5 hours
Check on the steaks to make sure water isn't too hot or too cold (add cold water if its too hot, turn up heat if its too cold)
Remove from bag, and re-season with salt, cumin, black pepper, cumin, and granulated garlic.
Heat cast iron pan, and oil to smoking point, and sear steaks on both sides (about 1 min each side)
let the steaks rest for 10 min before cutting and serving.

Notice that edge to edge pink. That's why you baby-sit meat for 2+ hours. We also roasted some tomatoes, potatoes, butternut squash and dressed a salad. I'm not sure why everyone does turkey because it's clearly an inferior bird to duck anyways, but whatever. We out.